
Installing Our MaxxAir Fans: Cutting Holes in Our Van Roof

Ventilation is one of the most important parts of a van build. Since we’re turning our Ford Transit 250 into a livable camper, we needed a way to keep the air fresh, reduce condensation, and stay cool in warm weather. After researching different options, we chose MaxxAir Fans—one of the best ventilation solutions for camper van conversions.
In this post, we'll walk you through our experience installing two MaxxAir fans, from cutting the holes in the van roof to sealing everything up properly. If you're planning your own DIY van conversion, this guide should help you feel more confident in tackling this part of the build!
Watch the full process!
Step 1: Testing the Fans (Without Batteries)
Since we don’t have our batteries installed yet, we had to get creative. We connected one of the fans directly to the car battery—because according to the internet, that’s totally fine. Spoiler alert: It worked! So with that little confidence boost, we moved on to the real challenge—cutting into our beloved van.


Step 2: Prepping for the Cut
We’ve done our research, watched countless YouTube videos, and hyped ourselves up for this moment. The fan sits on a flange, which needs a sturdy frame inside the van to keep it secure. So, before making any cuts, we gathered all our materials:
✔ Jigsaw (for cutting the holes)
✔ Painter’s tape (to catch metal shavings and keep things clean)
✔ Lap sealant (self-leveling Dicor—some people swear by it, others don’t, but we’re rolling with it)
✔ Butyl tape (to seal those awkward gaps)
✔ Gloves, safety glasses, and a metal file (safety first!)
✔ Primer and paint (to protect the freshly cut metal)
With everything laid out, it was time to mark our cut lines from the inside of the van. There was no turning back now!
Step 3: The First Cut (A.K.A. Heart-Pounding Moment)
We carefully lined up the painter’s tape, measured twice (maybe three times), and then drilled our first hole. Deep breaths. Then, with shaky hands, we grabbed the jigsaw and went for it.
It wasn’t the most perfect cut, but hey, it was a hole! We cleaned up the edges, filed them down, and vacuumed up all the tiny metal shavings. No one wants rusty surprises down the road.


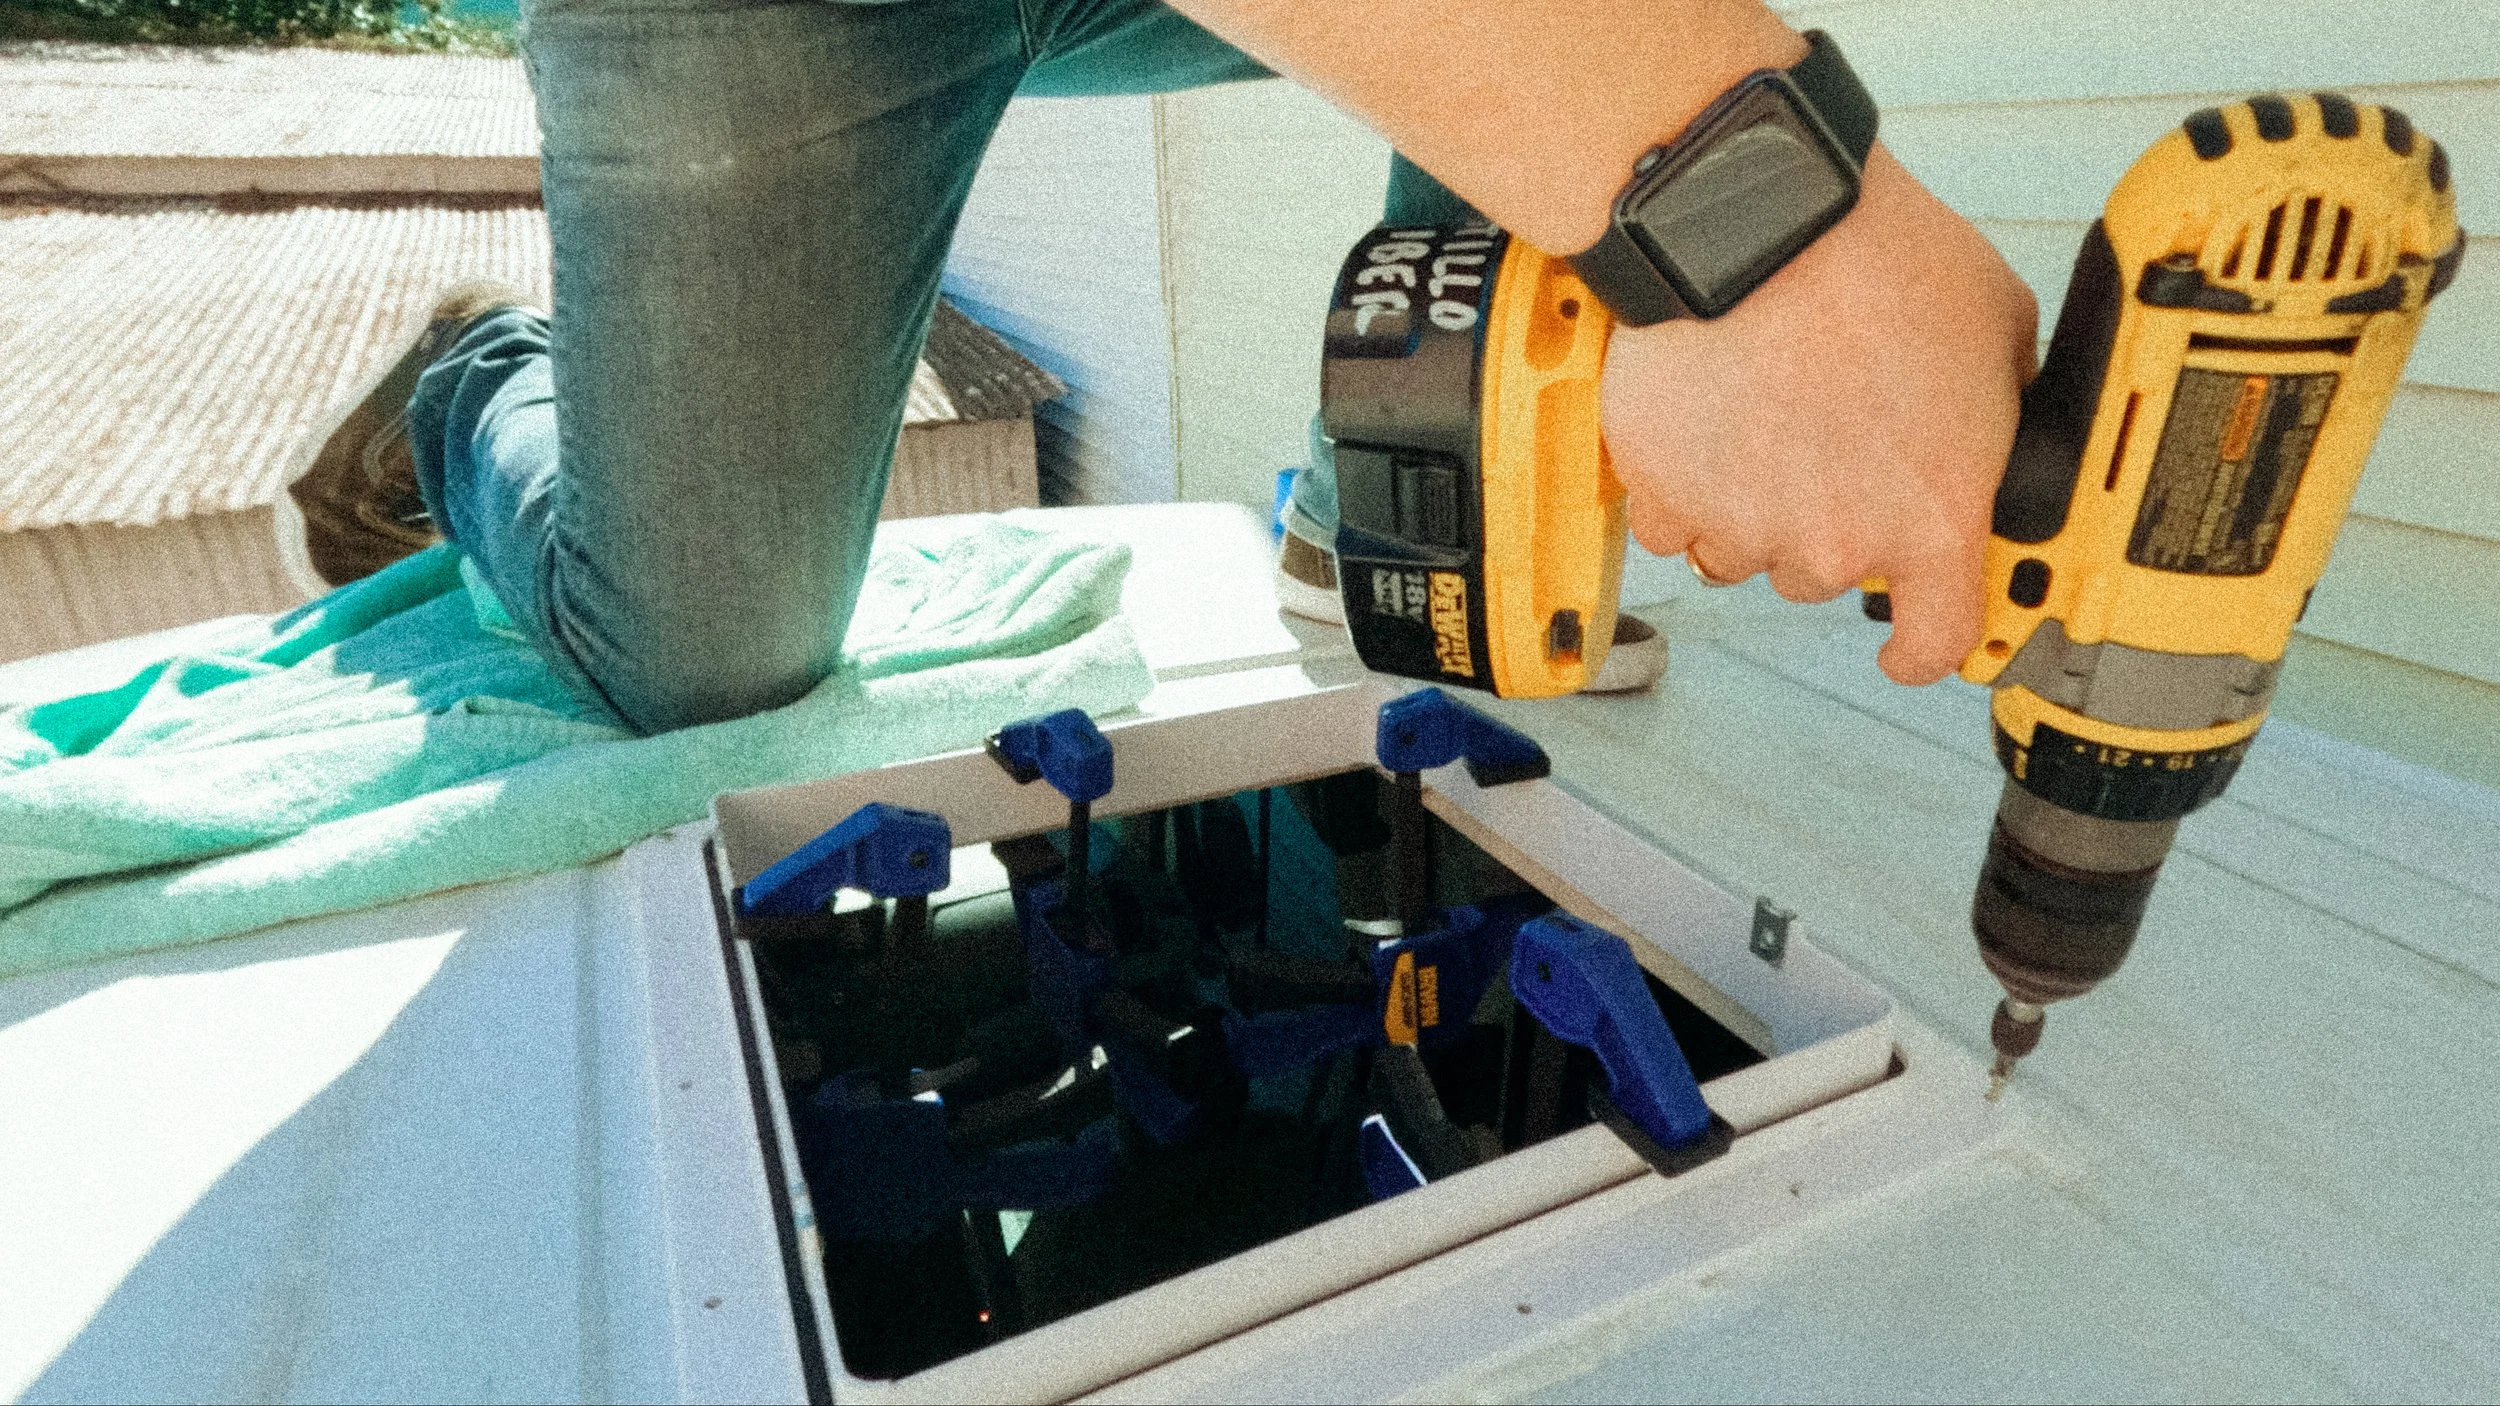
Step 4: Installing the Frame and Sealing Everything Up
Once the hole was ready, we installed a wooden frame inside the van for extra support. After letting the glue dry overnight, we moved on to the sealing process.
First, we laid down two layers of butyl tape around the edges to keep it weatherproof. Then, we placed the flange on top, secured it with screws, and added a final layer of lap sealant for extra protection.


Step 5: Round Two—The Second Fan
With one fan successfully installed, we tackled the second one. This one was trickier because of the van’s ribs, making it harder to find the perfect spot. But after carefully planning (and overthinking), we cut the second hole and repeated the process.
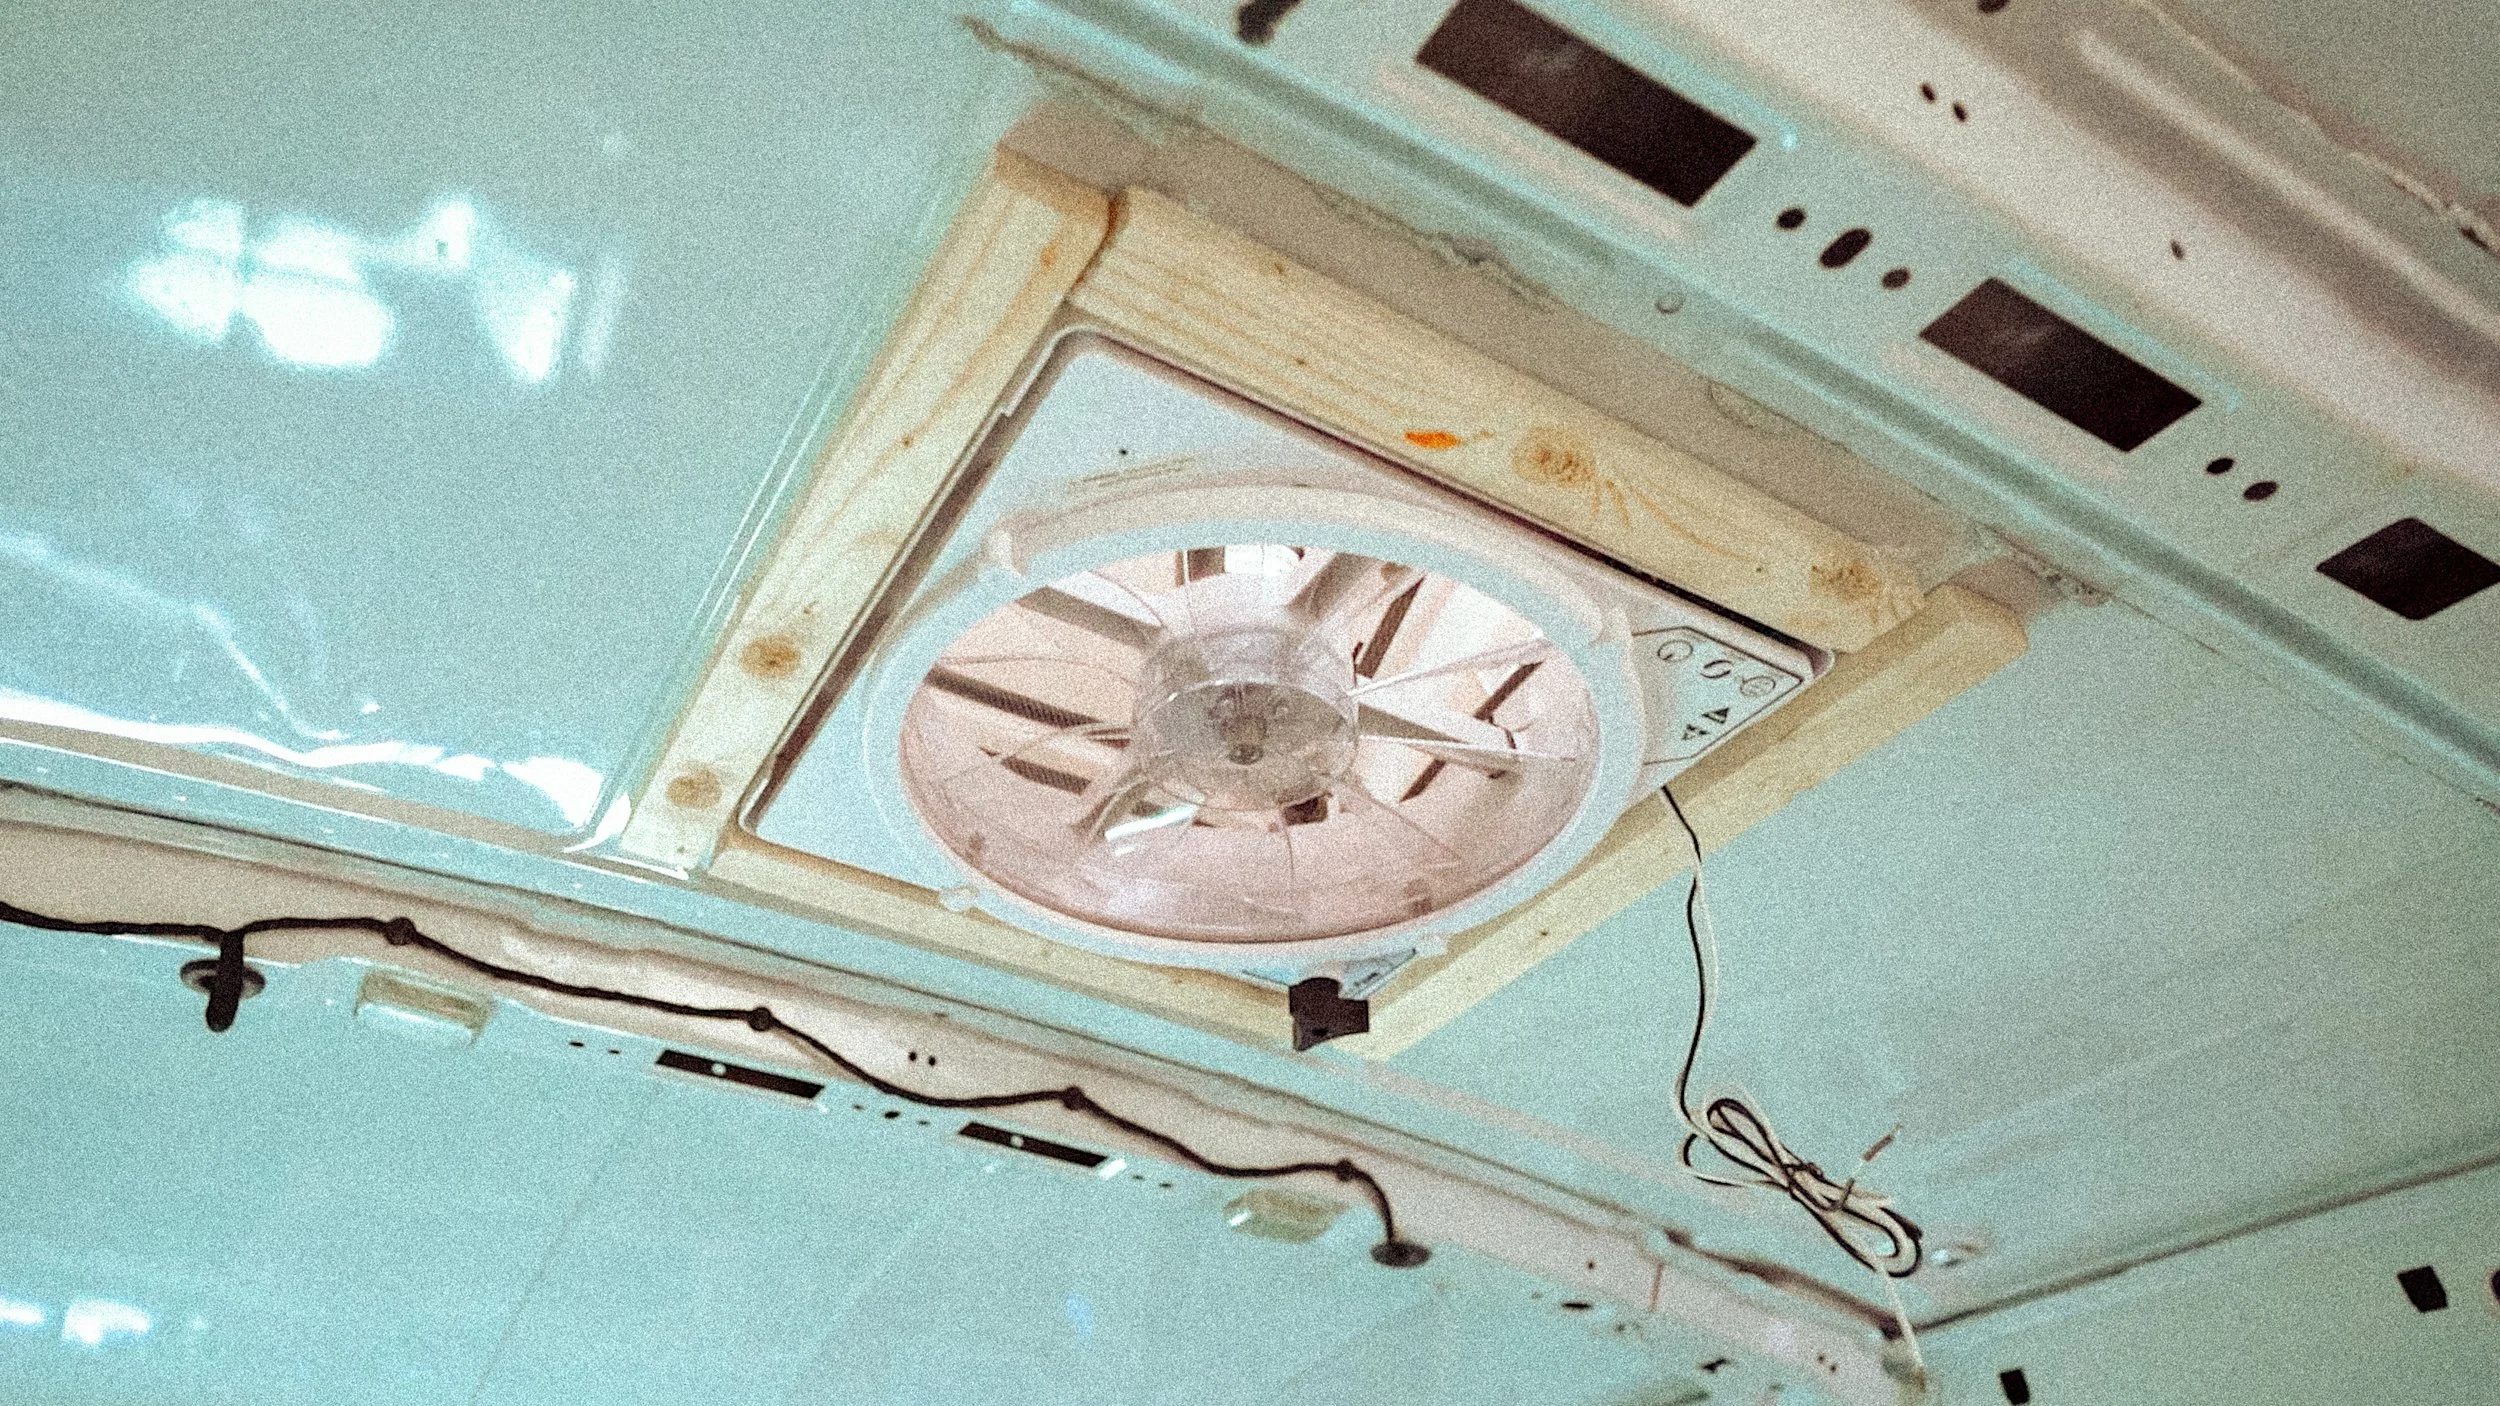
Now, both fans are up and running, and we couldn’t be happier! Even after a few rainy days, we’ve had zero leaks—mission accomplished!


Final Thoughts
Installing these fans was one of the scariest things we’ve done so far in our van build, but it was totally worth it. If you’re planning to do this yourself, take your time, double-check your measurements, and don’t stress too much about perfection.
Spoiler alert of how it ended up looking!
